What the tape is doing electrically
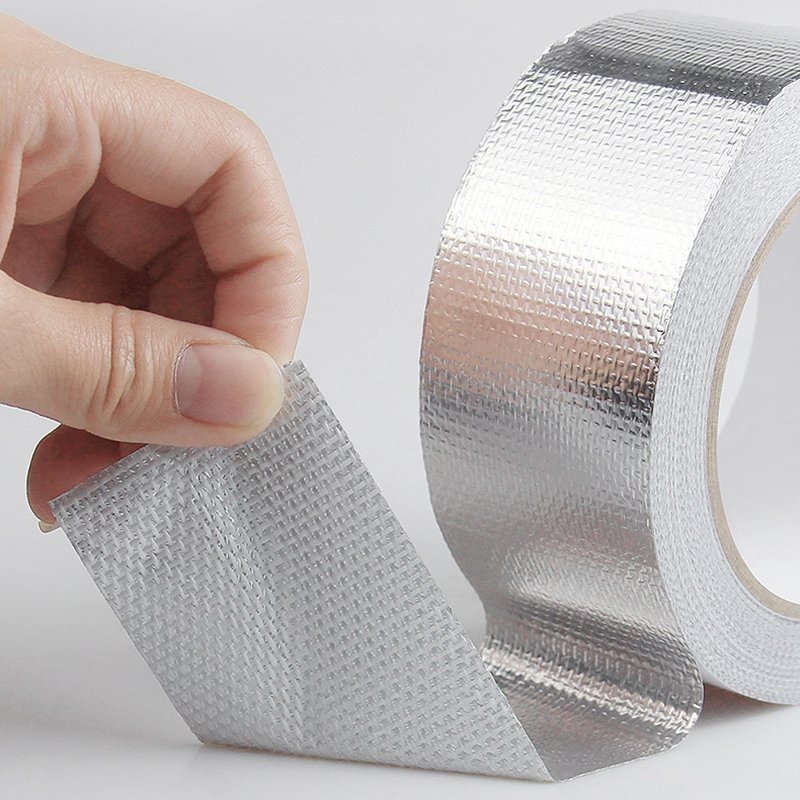
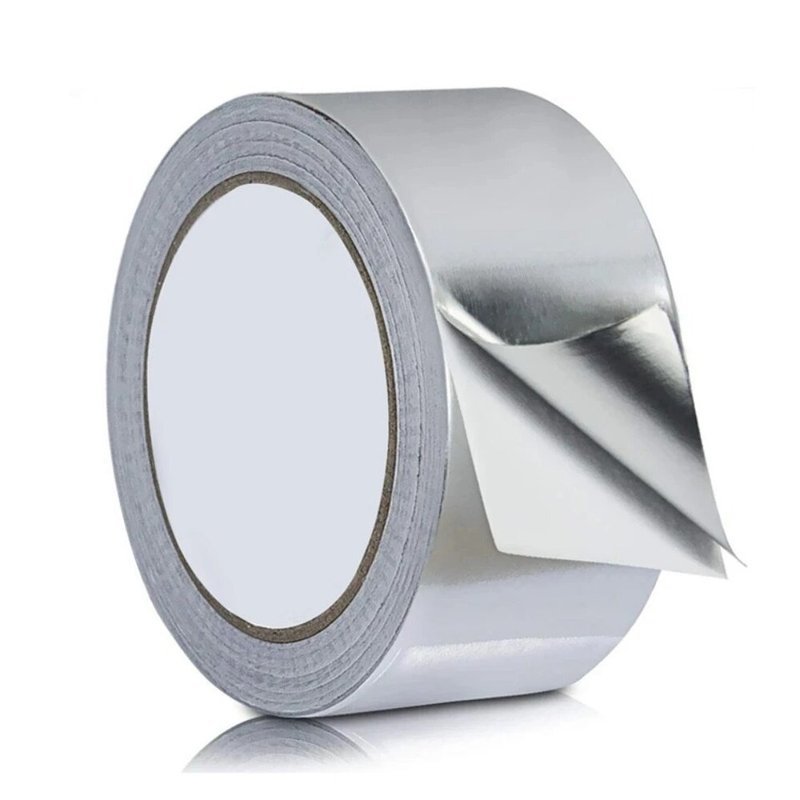
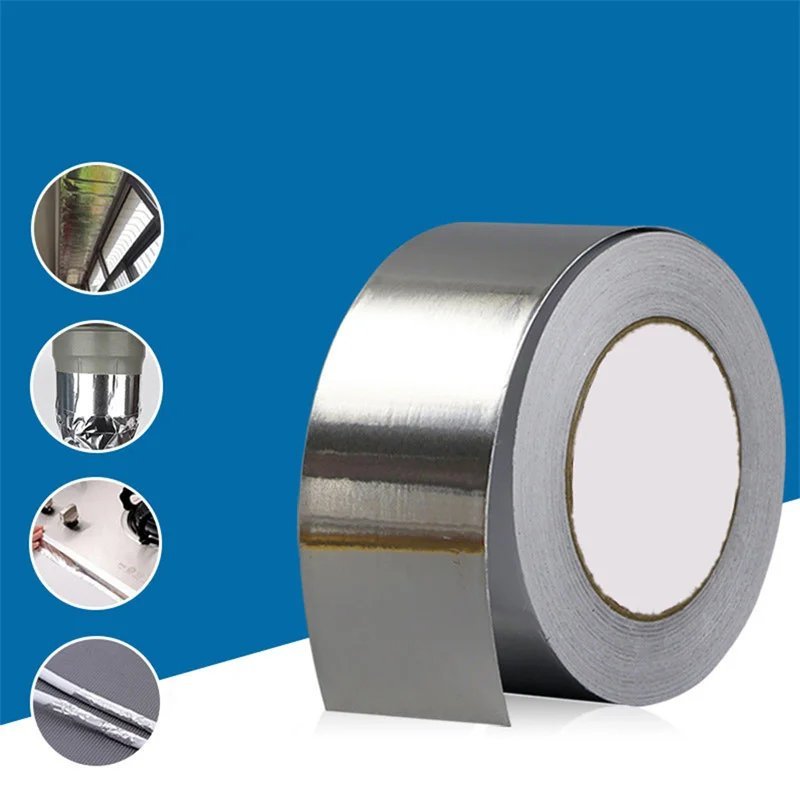
An enclosure leaks radio frequency energy at seams, slots and cable entries, not through the sheet metal. Foil tape bonded across a seam adds a conductive path and closes the aperture, which is why it appears in prototype work, repair and low-volume builds. It is a pragmatic solution, not a substitute for a properly gasketed production enclosure.
The critical detail is the adhesive. A standard acrylic adhesive is an insulator, so the foil conducts along its own length but not through to the metal underneath. A conductive adhesive loaded with nickel or copper particles bonds through the thickness and is what you need when the tape must carry current across a seam.
Getting a joint that actually attenuates
Surfaces must be bare metal. Paint, anodising and conversion coatings are intentional insulators, and tape applied over them shields nothing at the seam. Abrade to bare substrate, clean with isopropyl alcohol, and apply with firm roller pressure so the adhesive wets out and the particle contacts close.
- Overlap adjacent tape strips by at least 25 mm
- Run the tape across the seam, not parallel to it
- Fasten the enclosure with its own screws; tape is not a structural closure
- Check continuity with a milliohm meter before and after assembly
Expect the tape to work best against higher frequencies, where seam apertures matter most. At low frequencies, thickness and joint geometry dominate, and a single layer of 0.06 mm foil will not transform a poorly fitted enclosure. Test the finished assembly rather than trusting a material data sheet.
Shielding foil is supplied in 6 mm to 50 mm widths on 10 m to 33 m rolls, with copper and aluminium carriers available. Small widths dominate, so MOQ is usually set by the number of slit widths in an order rather than by total volume.