The sill takes the water
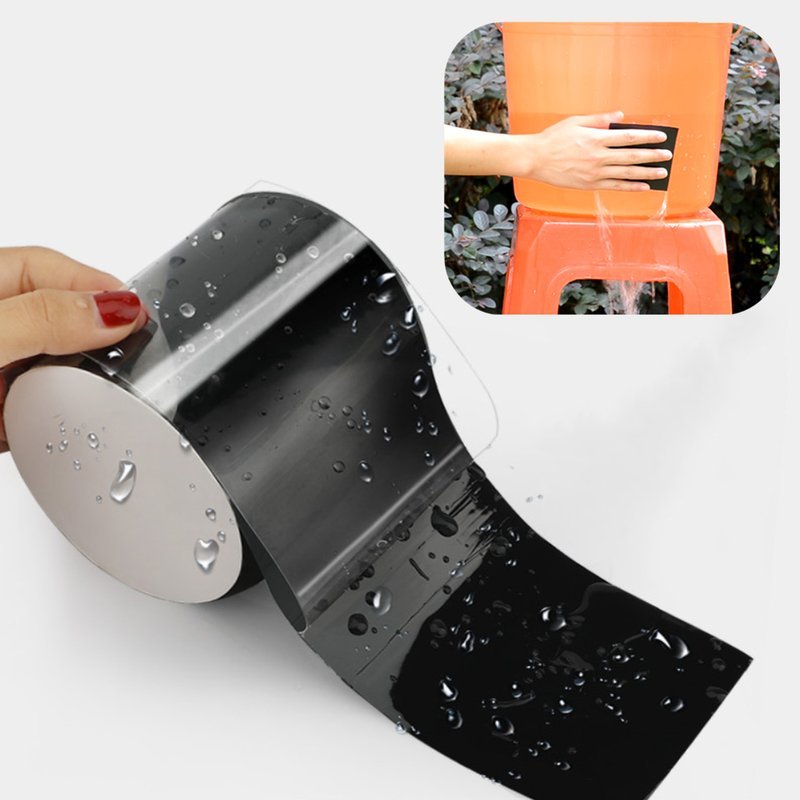
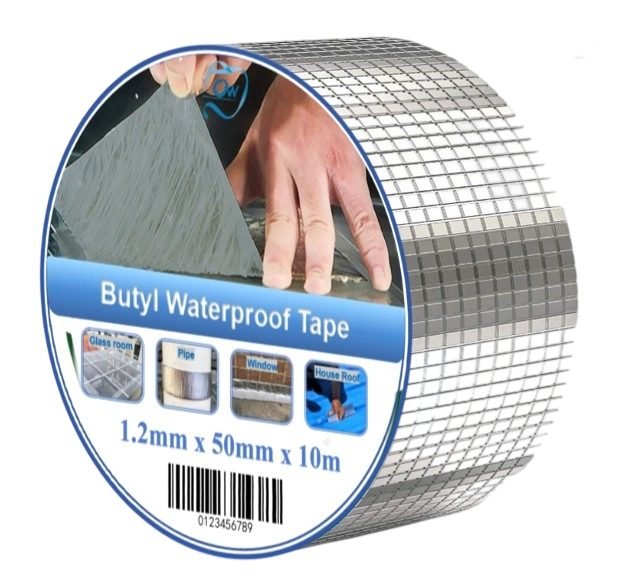
Most window leaks begin at the sill, where rain runs down the wall and sits on the rough opening. Flashing tape turns that flat surface into a sloped pan that drains outward. Butyl flashing tape is the common choice because it stays flexible through building movement and seals around nail penetrations without cracking.
Width should cover the frame depth plus a lap onto the sheathing. For a typical 140 mm frame, a 150 mm or 200 mm tape lets you run up the jambs while the sill piece extends past the opening. Narrower tape means piecing corners, and every extra joint is a potential leak path.
Sequence matters more than the product
Flashing works by shingle lap: water must always run onto the piece below. Set the sill first, then the jambs, then the head, and finally the weather barrier lapped over the head flange. Reverse any of those and the assembly channels water behind the tape instead of over it.
- Prime dusty sheathing and let it dry before taping
- Roll the sill tape into the corner rather than folding a crease
- Cut jamb pieces long enough to reach the sill face
- Never seal the bottom of the head flange, so trapped water can escape
Adhesion failures usually trace back to dust, frost or a damp substrate. Below 5 degrees Celsius, butyl flashing tape loses tack quickly, so keep rolls warm and work in short lengths. Staples through the tape are acceptable at the head but should be avoided on the sill pan.
Flashing tape is supplied in 10 m to 25 m rolls, 100 mm to 300 mm wide, with a split release liner for one-handed installation. For a contractor pack, a split liner and printed gradations on the backing save more site time than a marginal price difference.