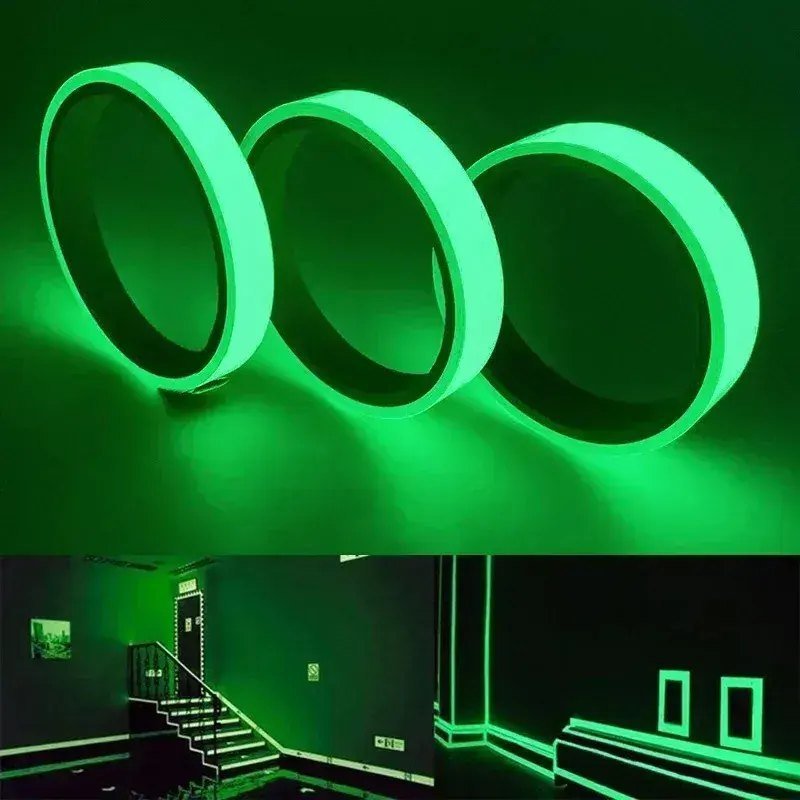

In a power failure, the person who needs to isolate a circuit is working in the dark, often in a plant room with no windows. A luminous strip around a distribution board or beside an isolator gives a visible reference point without any wiring. The aim is orientation, not illumination: the tape shows where the panel is and where the handle sits.
Size, shape and legend
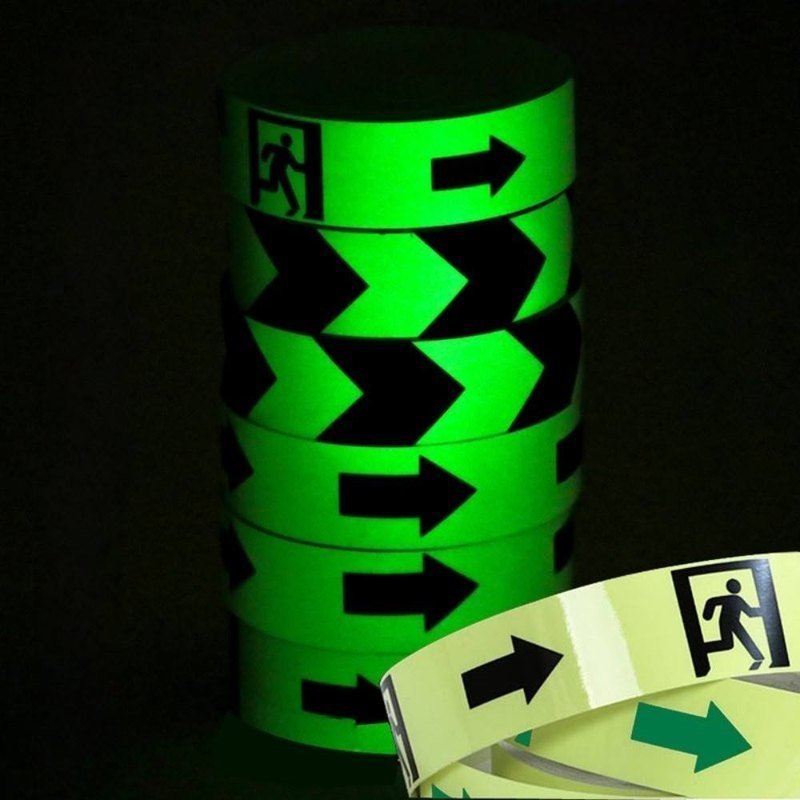
A 25 mm strip framing the panel door is usually enough, with a die-cut arrow or a small rectangle marking the main switch. Arrows need a minimum leg length to be readable at two or three metres, and legends should be simple pictograms rather than small text, which cannot be read at low light levels regardless of the material.
- Frame the door edge, not the centre, for a visible outline
- Mark the main isolator handle with a die-cut arrow
- Keep legends to simple symbols, not small text
- Use a matte laminate where the panel is in a bright position
Adhesion on painted metal
Panel steel is usually powder coated, and the coating may carry a silicone or release residue from the finishing line. Wipe with isopropyl alcohol, allow it to flash off, and apply with a roller. Avoid placing tape across a door seal or hinge gap, where movement will lift the edge within weeks. Inside a warm panel, check that the adhesive temperature rating covers the enclosure.
Ordering die-cut markers
Electrical contractors rarely want full rolls. Die-cut sheets with a set of arrows and rectangles, kiss-cut for easy removal, are more practical and reduce waste on site. Confirm the sheet layout, the liner type and the packing quantity per box, and ask for a sample sheet so the electricians can test removal at working temperature before the full order is placed.